Your First Project
In this tutorial, we will go through the process of creating a simple project using RapidGPT with persistent chat history.
Important Notice
Please note that RapidGPT has the incognito mode enabled by default when no active workspace is open in VS Code.
Step 1: Create a New Project
1. Open Visual Studio Code (VS Code).
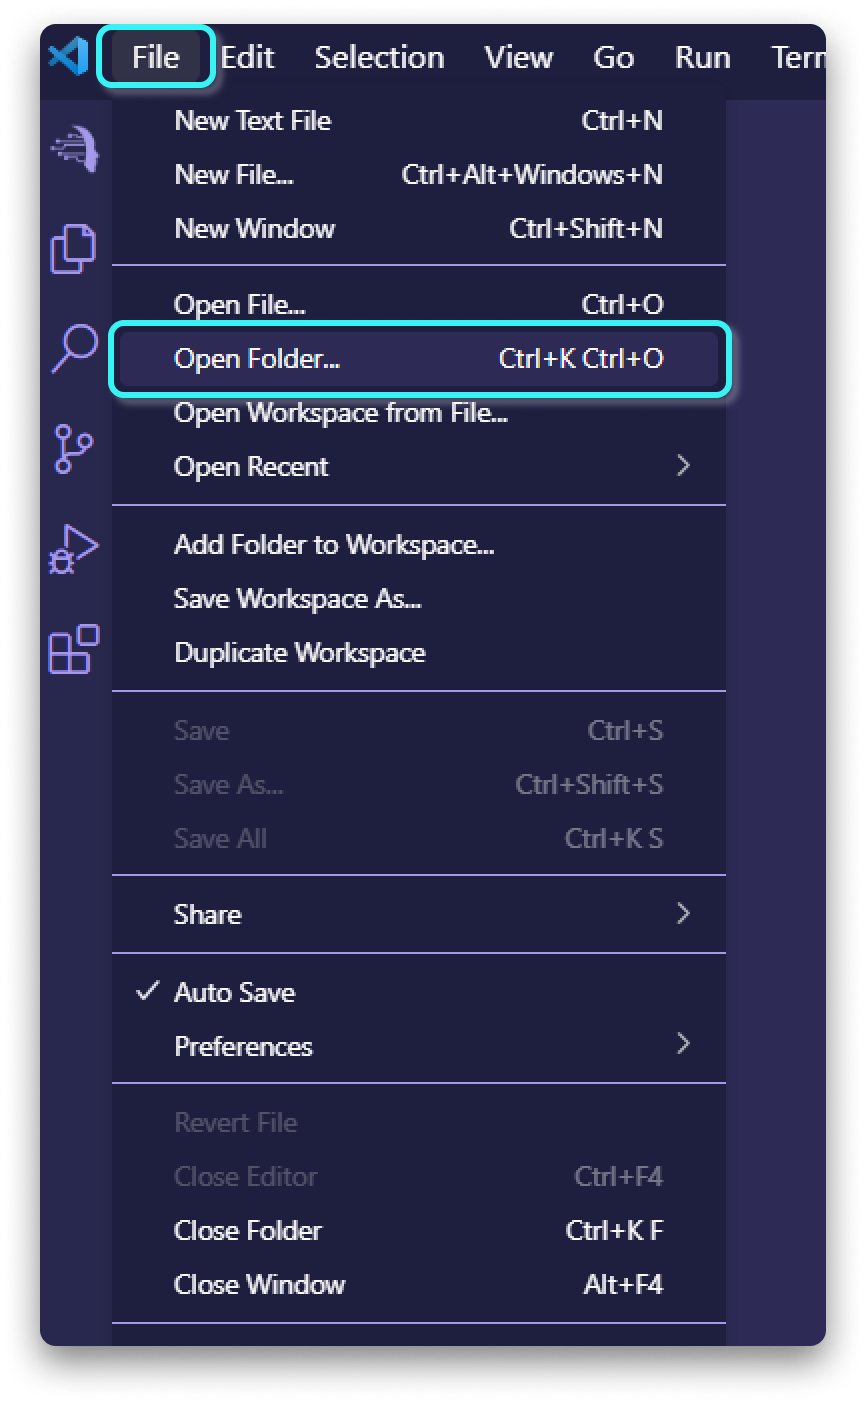
2. Navigate to the top menu and click on "File". From the dropdown menu, choose "Open Folder".
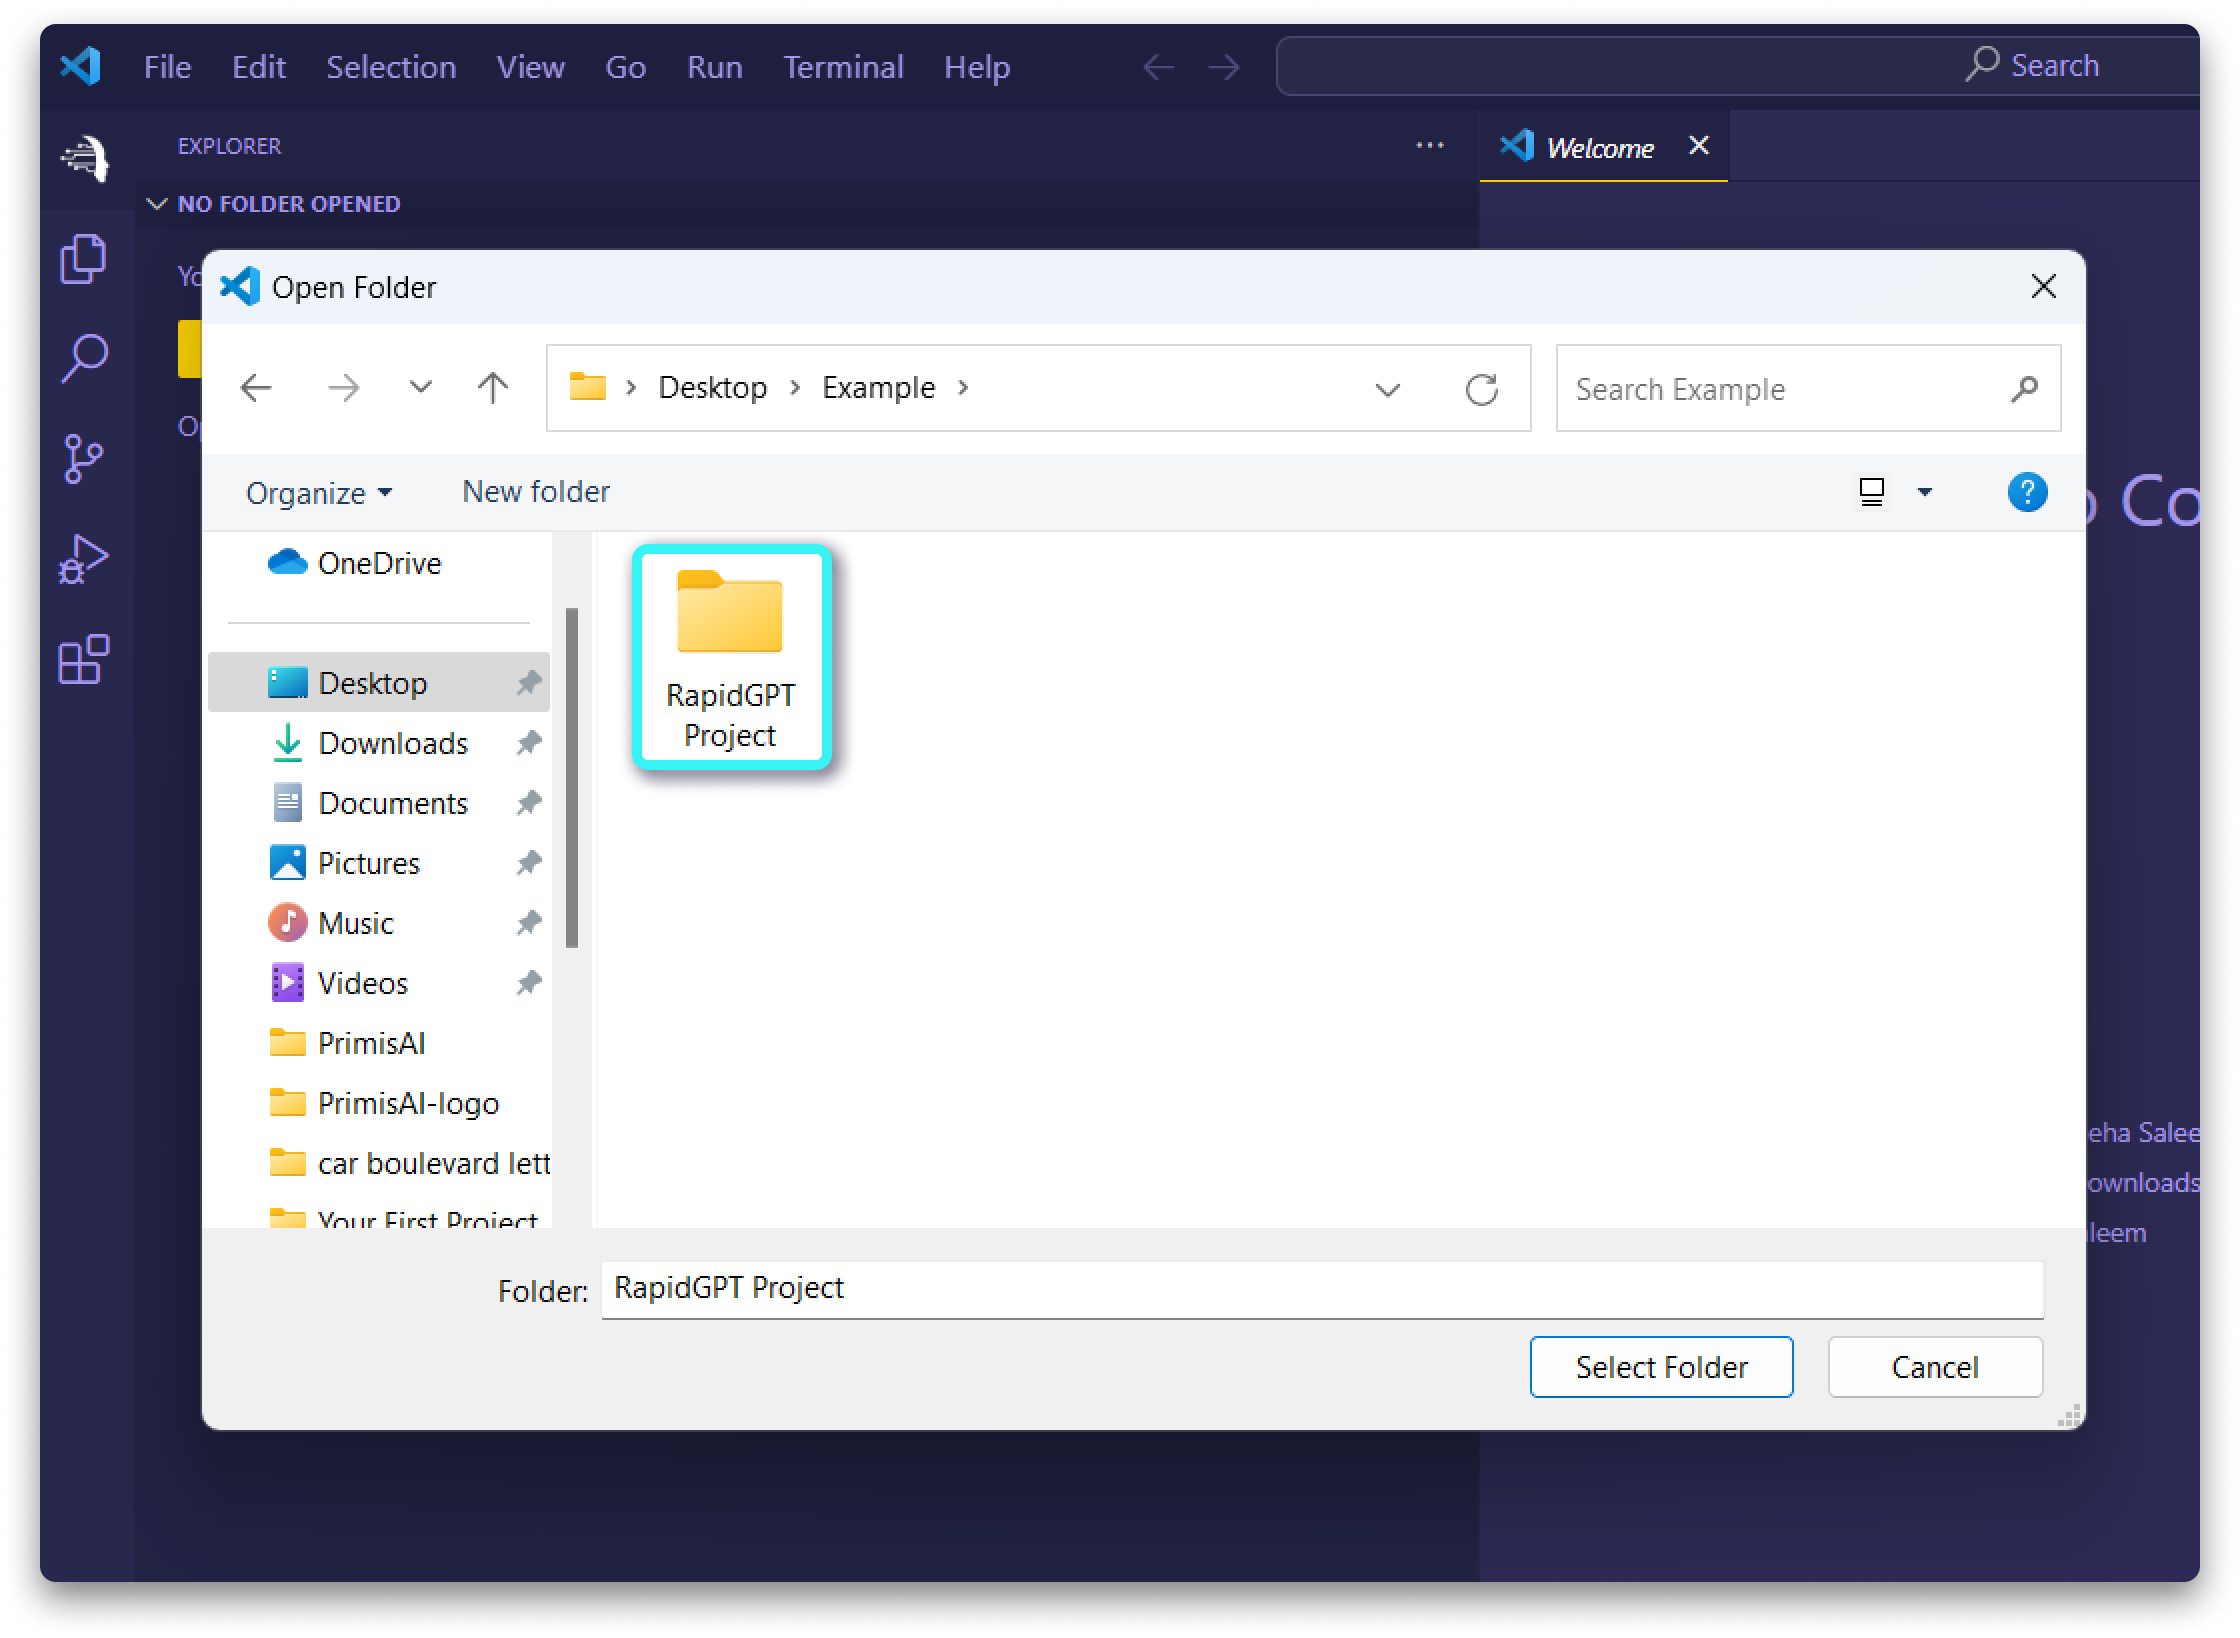
3. Select or create a directory for the project, then click "Select Folder"
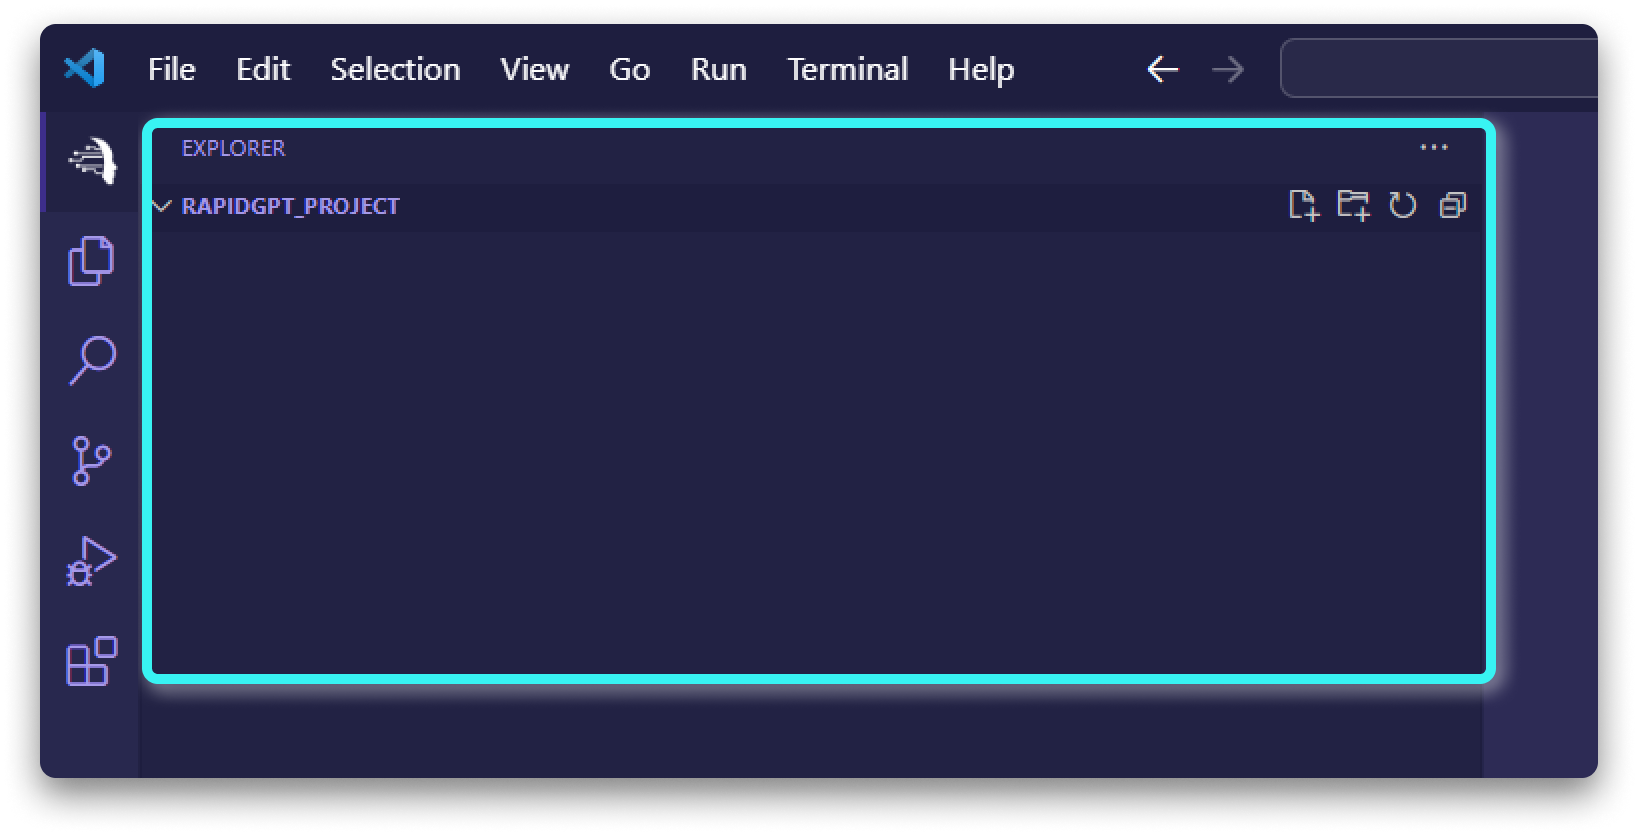
4. Your project folder will now be opened in the VS Code workspace.
Step 2: Initialize RapidGPT
1. Locate and click on the RapidGPT icon in the VS Code sidebar to open the RapidGPT panel.
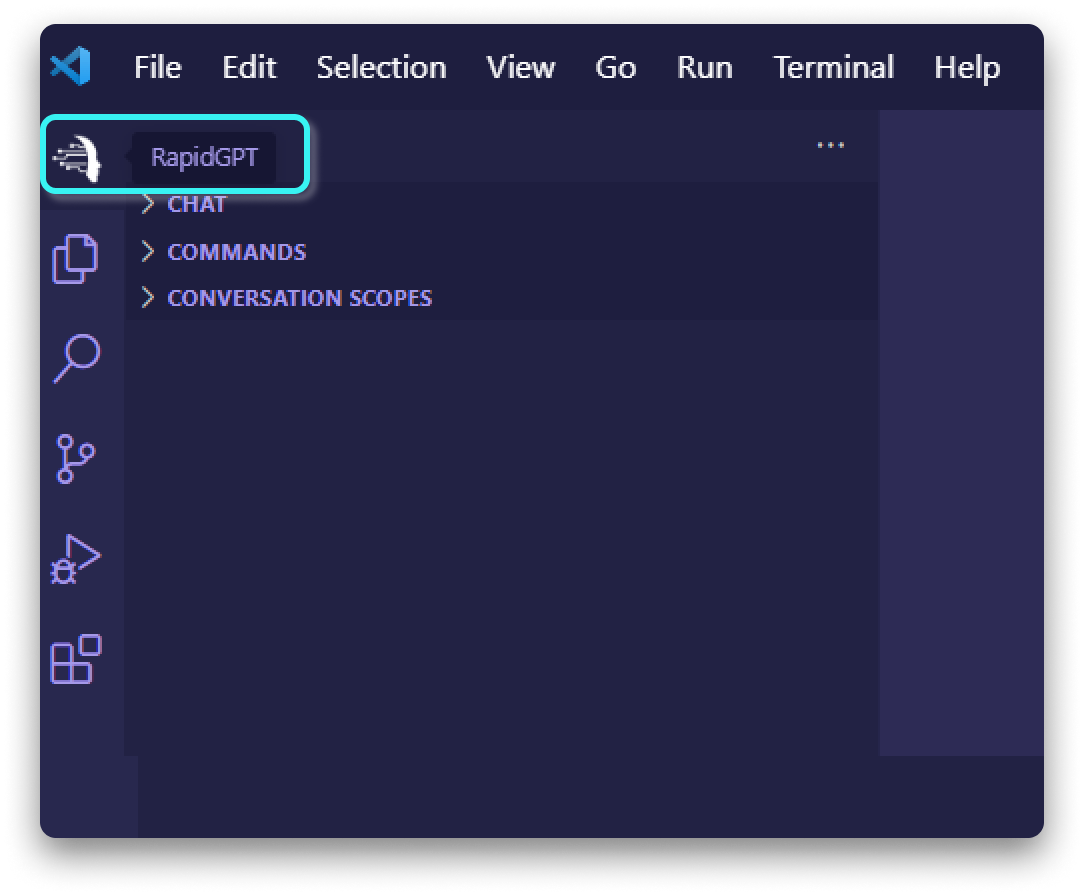
2. The 'CHAT' panel will now be displayed by VS Code.
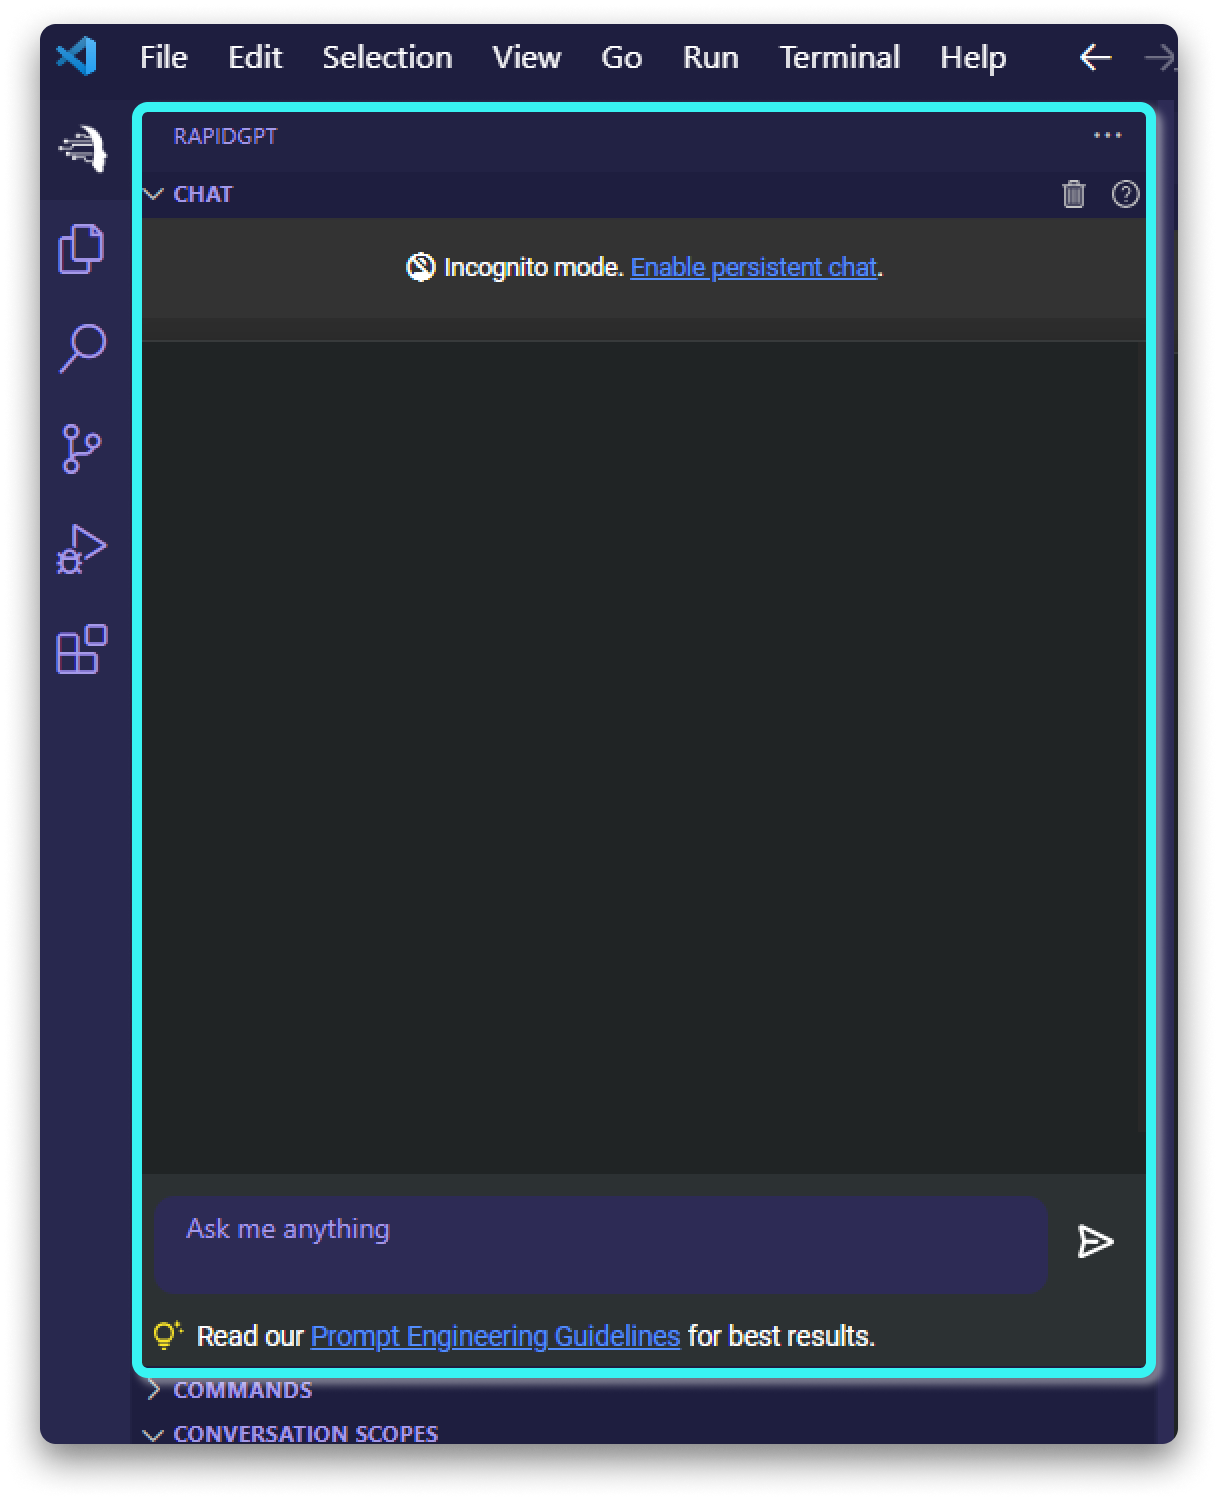 3. Initiate a conversation with RapidGPT by typing your message in the chat input box.
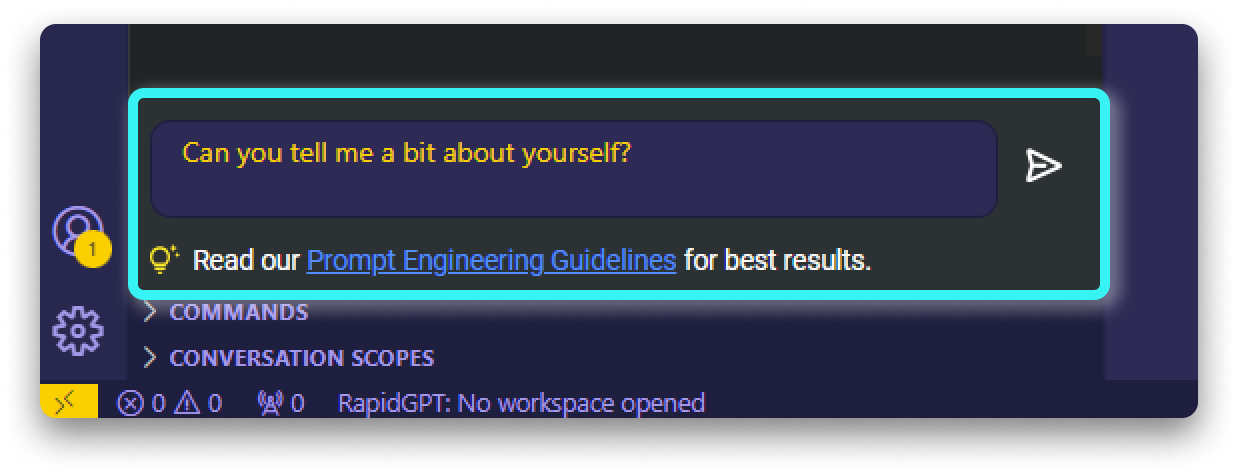
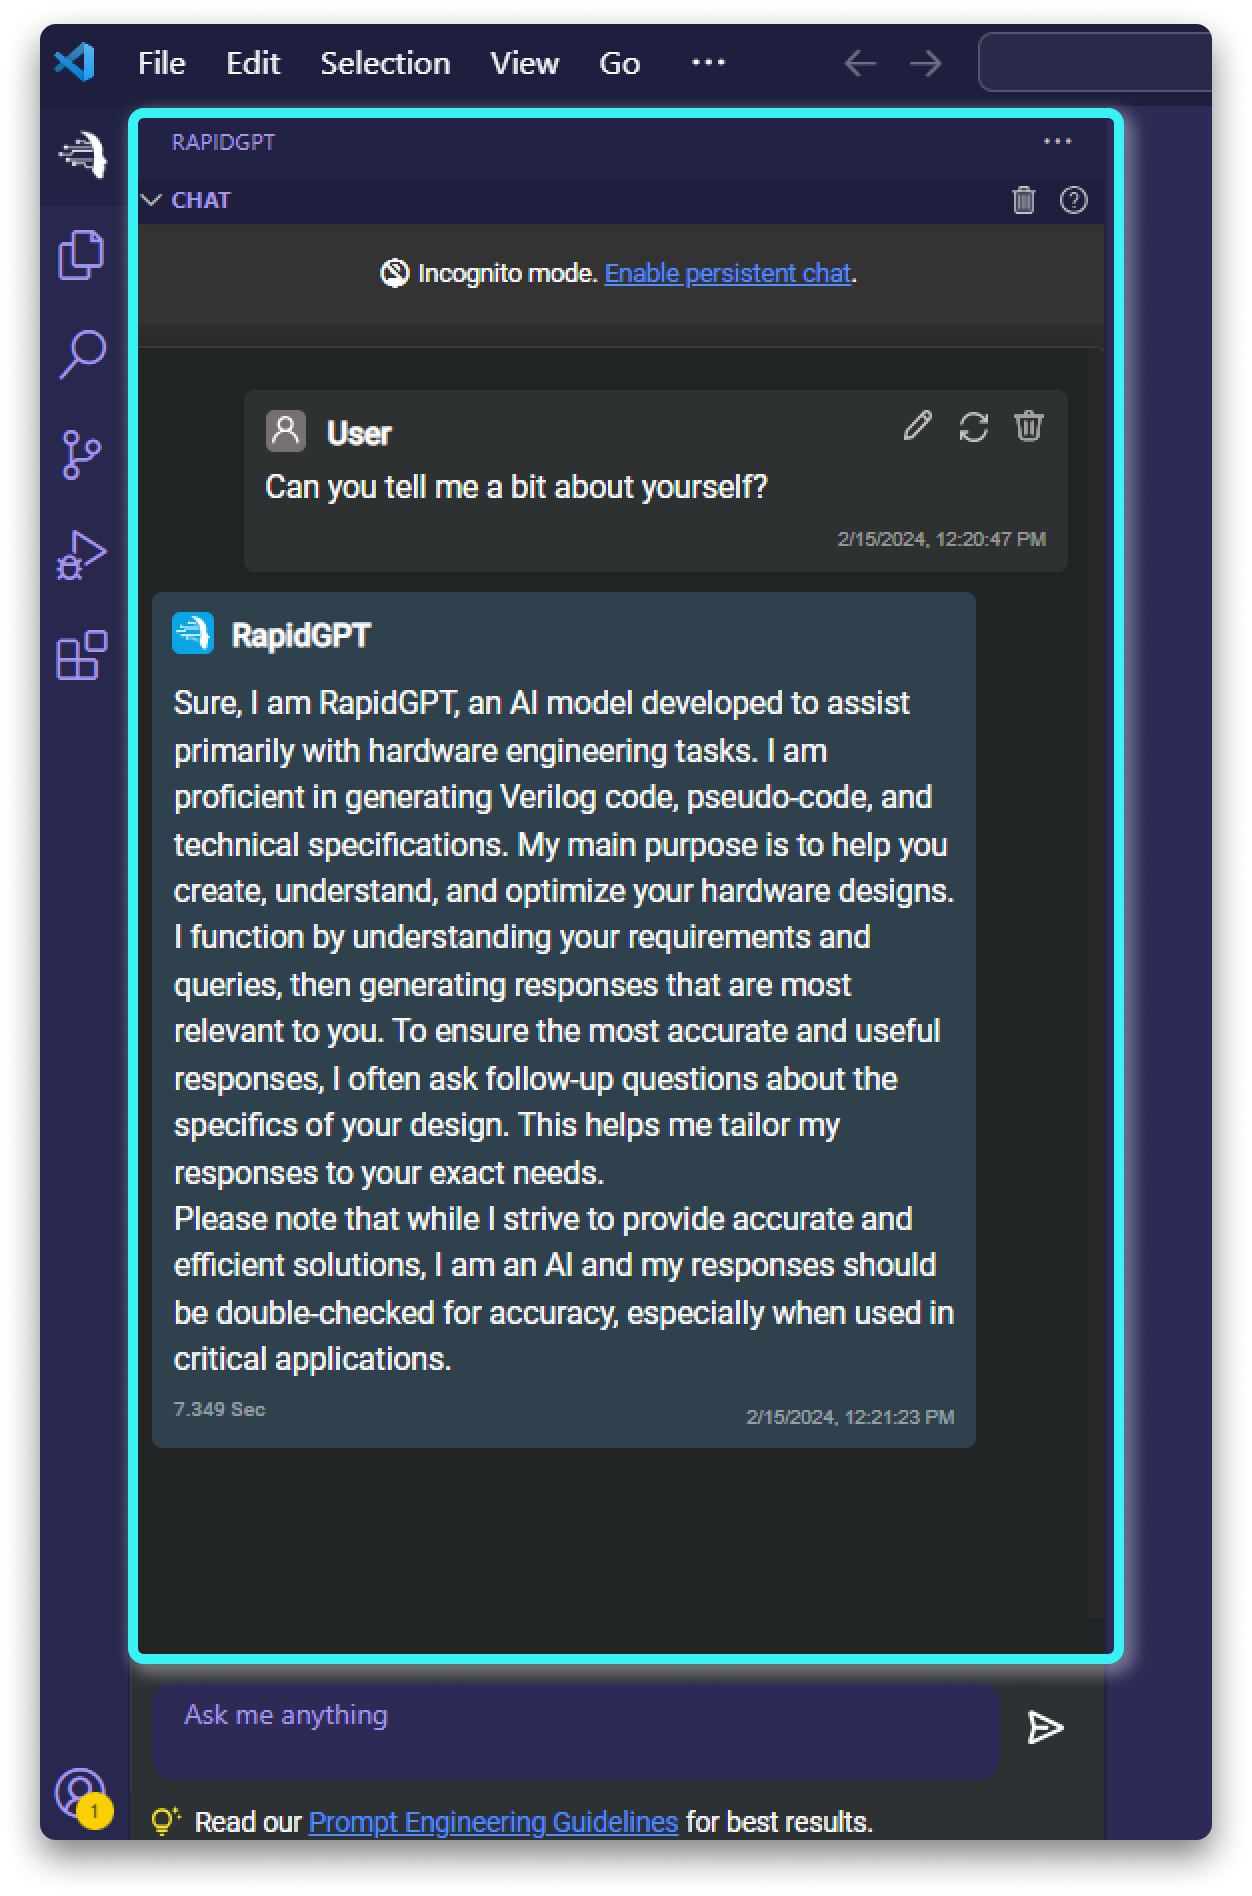
4. RapidGPT will promptly provide suggestions or code snippets based on your input.
Step 3: Persistent Chat History
1. To ensure your chat history is automatically saved, begin by creating a Verilog file within the current project.
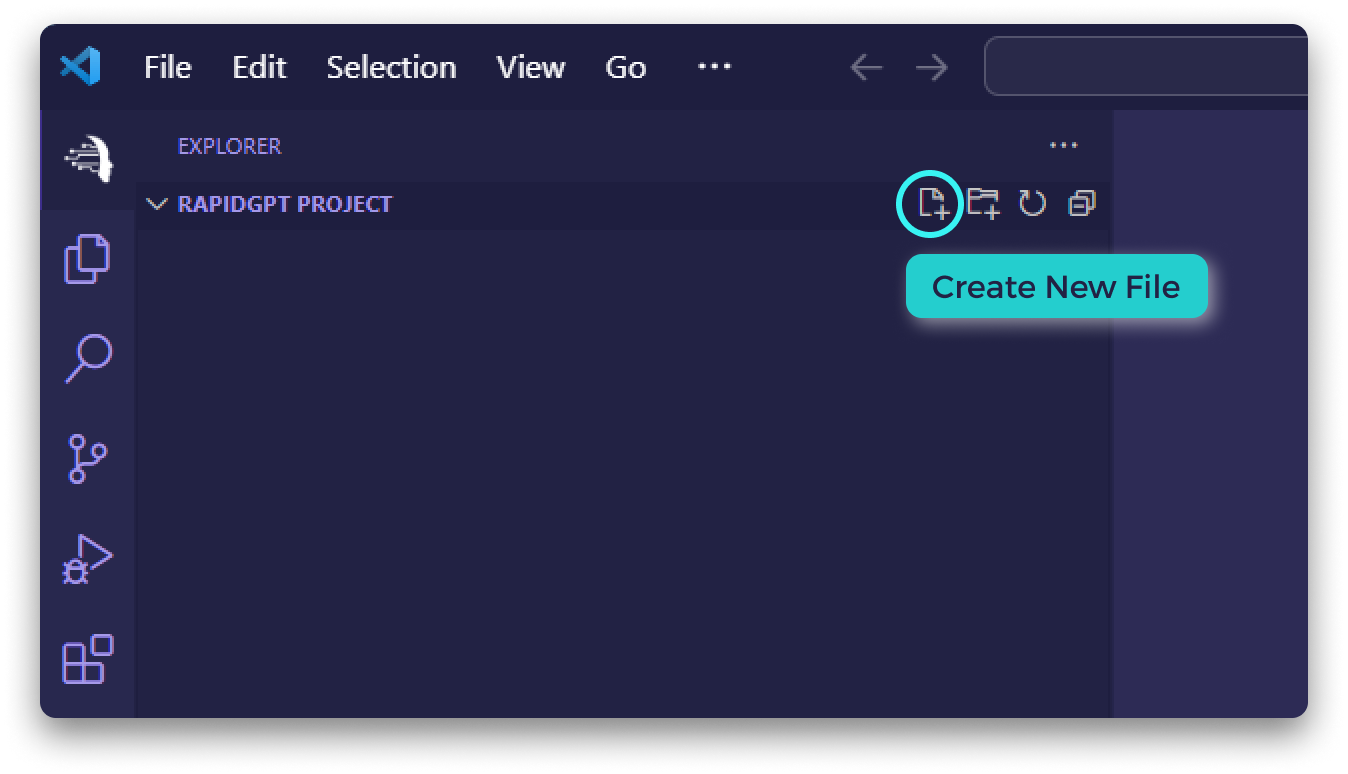
2. Right-click on the project folder located in the VS Code sidebar. From the context menu, choose "New File" and specify a name for the Verilog file. Remember to include the ".v" extension, such as "ram.v".
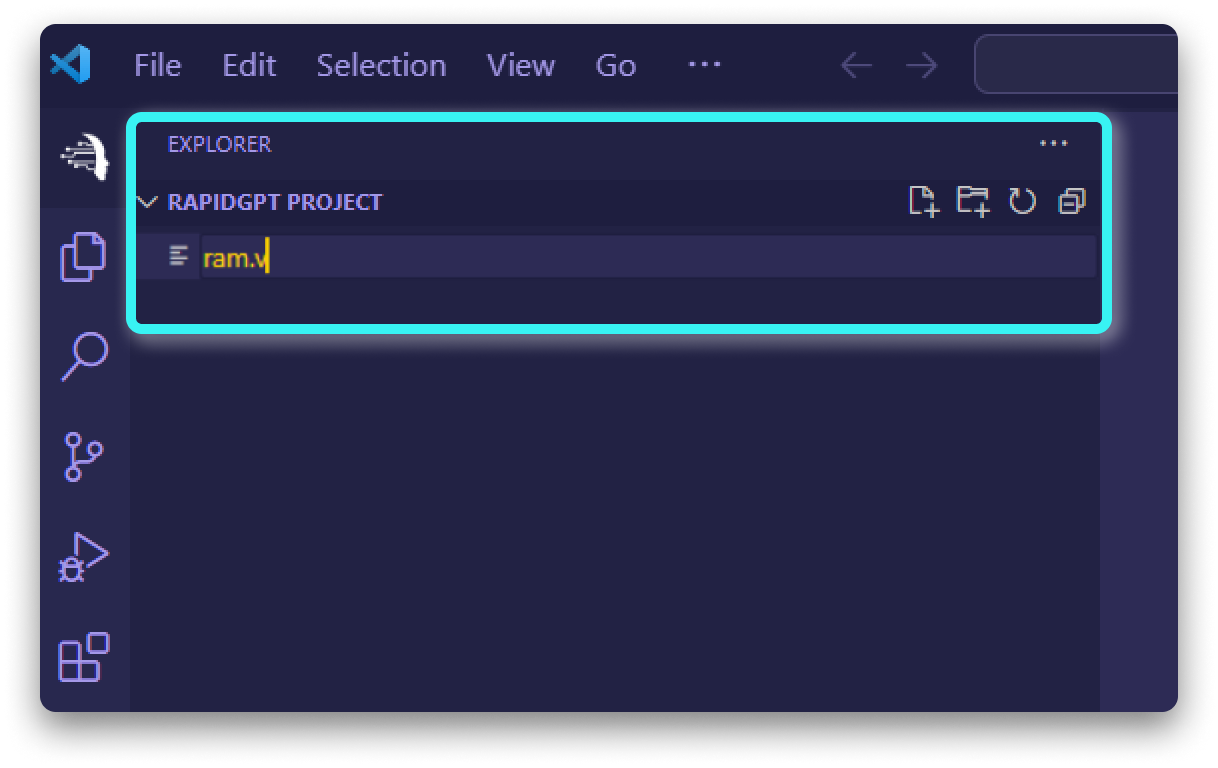
3. Open the newly generated Verilog file.
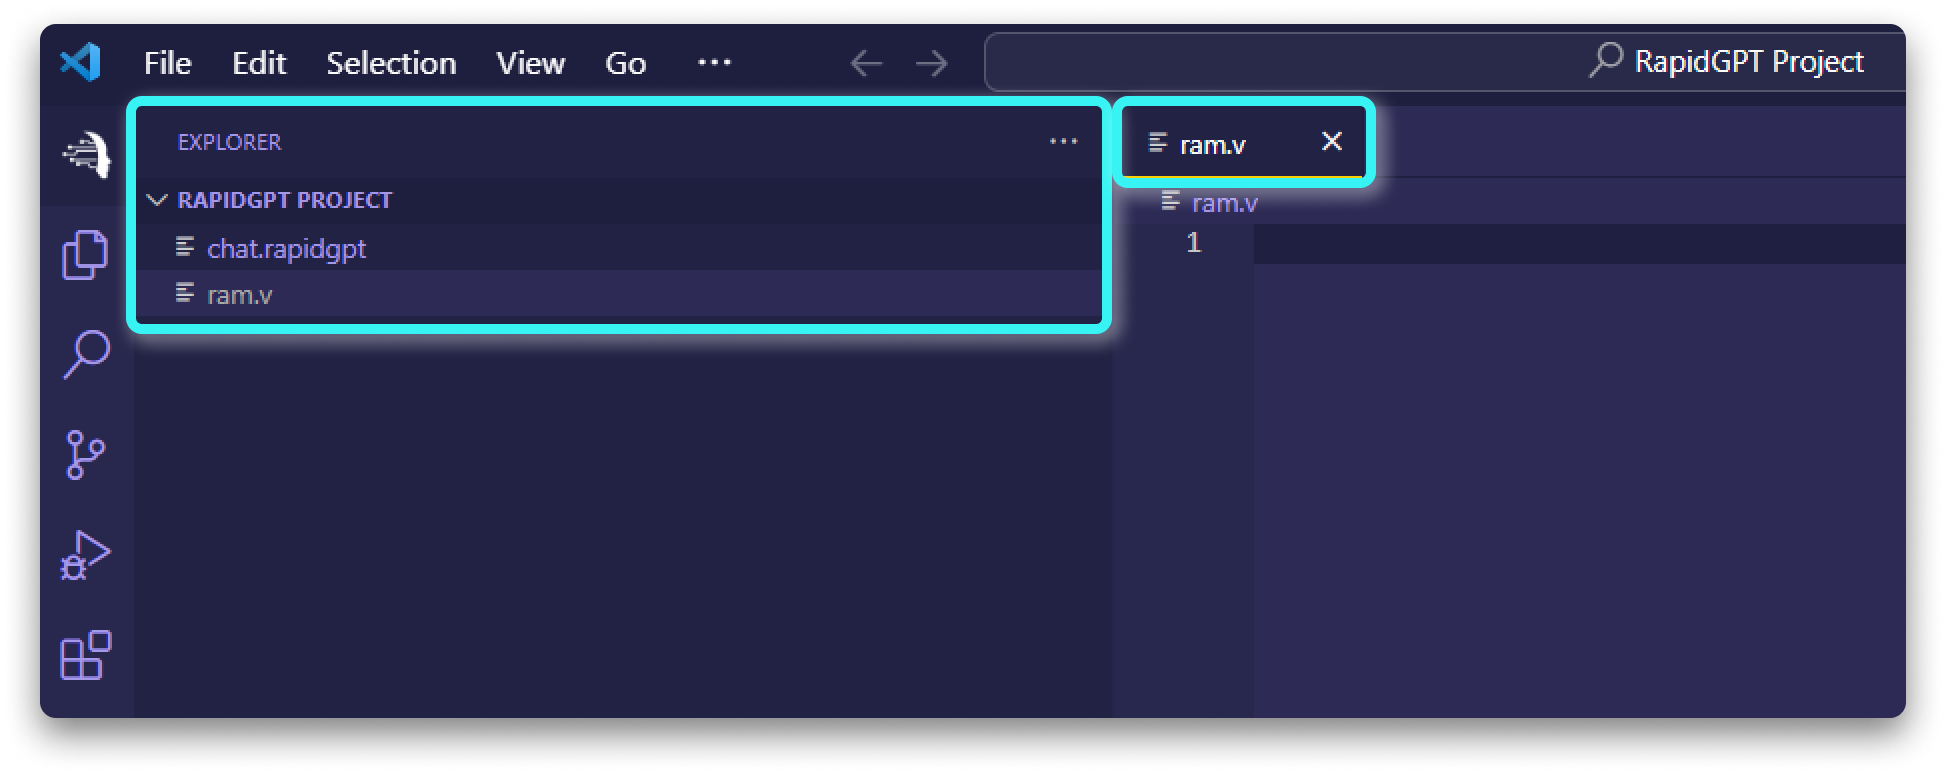
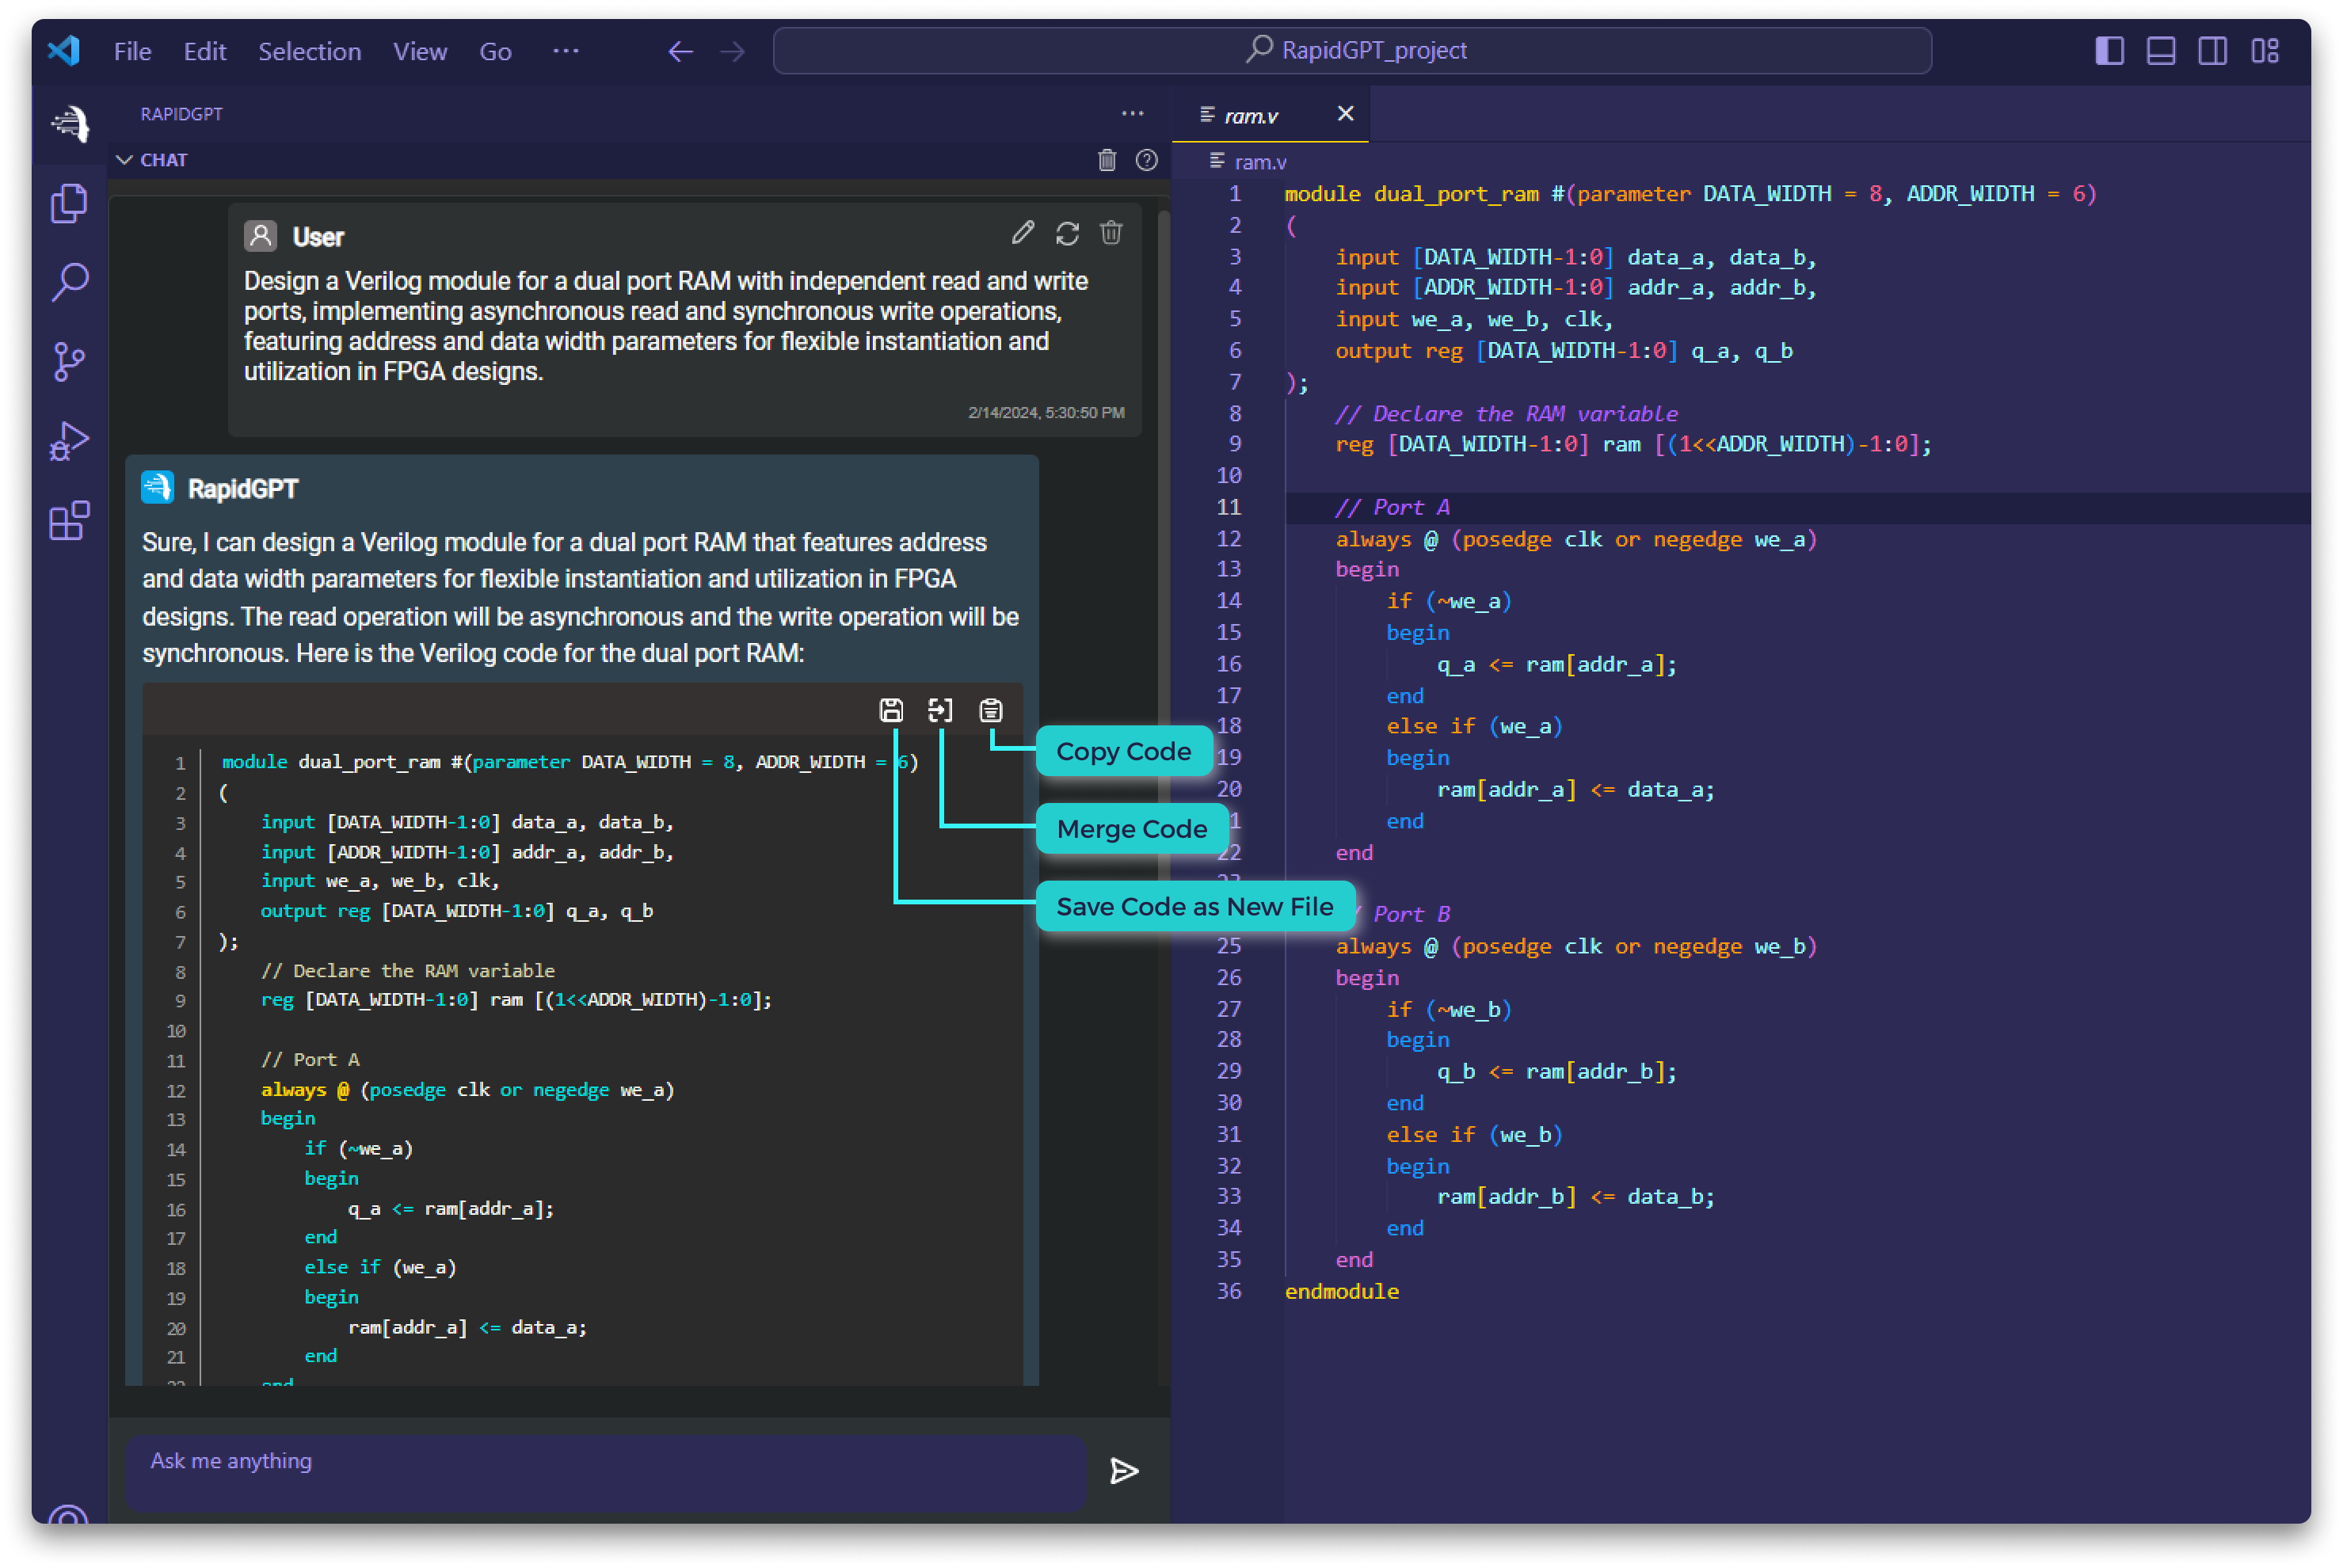
4. With this setup, your chat history will be automatically preserved after each interaction.
Conclusion
By following this tutorial, you have learned how to create a project using RapidGPT. Remember that the chat history is only saved when a Verilog file is created in the current project. Use the chat panel to interact with RapidGPT, receive code suggestions, and optimize your design. Enjoy the power of RapidGPT and streamline your hardware design process like never before!